> For the complete documentation index, see [llms.txt](https://docs.gearplug.io/llms.txt). Markdown versions of documentation pages are available by appending `.md` to page URLs; this page is available as [Markdown](https://docs.gearplug.io/english/set-up-your-integrations/alegra/source-actions/get-invoice.md).
# Get invoice
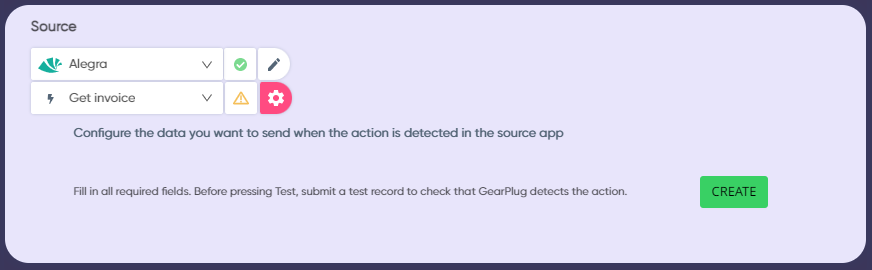
1. **Select Alegra** as your source App in the “Gears” section and click “Create.”
2. **Click the red Gear** to display your connections. Choose the one you want to use, or create a new one, and click “Continue.”
3. **Pick “Get invoice”** as your action and click “Create.” Create a test record in your Alegra account for GearPlug to import the data.
3. **Review the data** to verify everything works properly. Then, click “OK” to finish setting up your source Plug.
{% hint style="info" %}
**Empty Fields**: Under the imported entry, you’ll find a drop-down menu for “Empty Fields.” Here, you’ll find a list of fields you can import—but weren’t used in the form you used.
{% endhint %}