> For the complete documentation index, see [llms.txt](https://docs.gearplug.io/llms.txt). Markdown versions of documentation pages are available by appending `.md` to page URLs; this page is available as [Markdown](https://docs.gearplug.io/english/set-up-your-integrations/clientify/target-actions/create-contact.md).
# Create contact
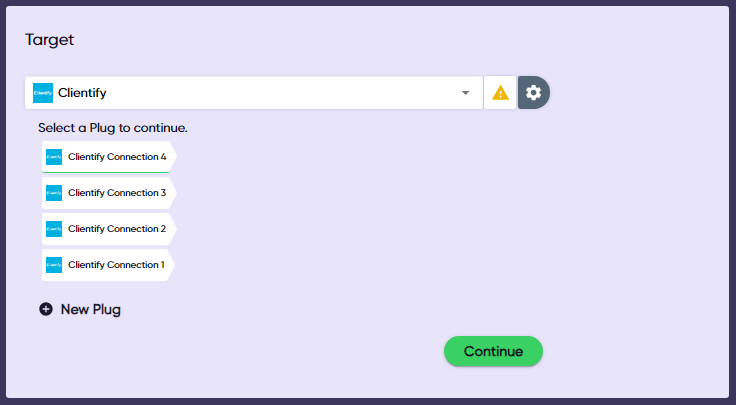
1. **Select Clientify** as your target, as well as the Plug you want to use, and click “Continue.”
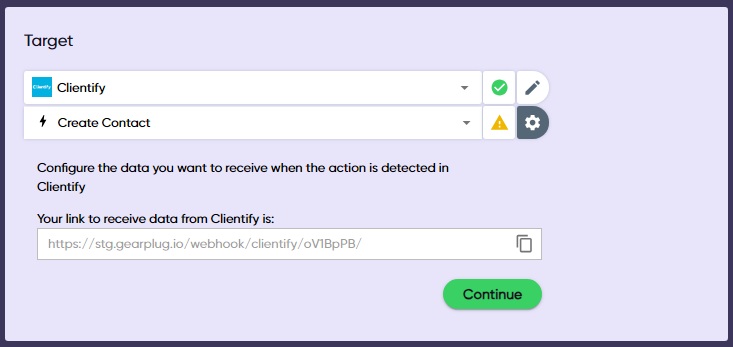
2. **Choose “Create contact”** as your action and click "Continue." This will display the action’s data template. Make sure you copy and paste the Webhook link provided by your Gear.
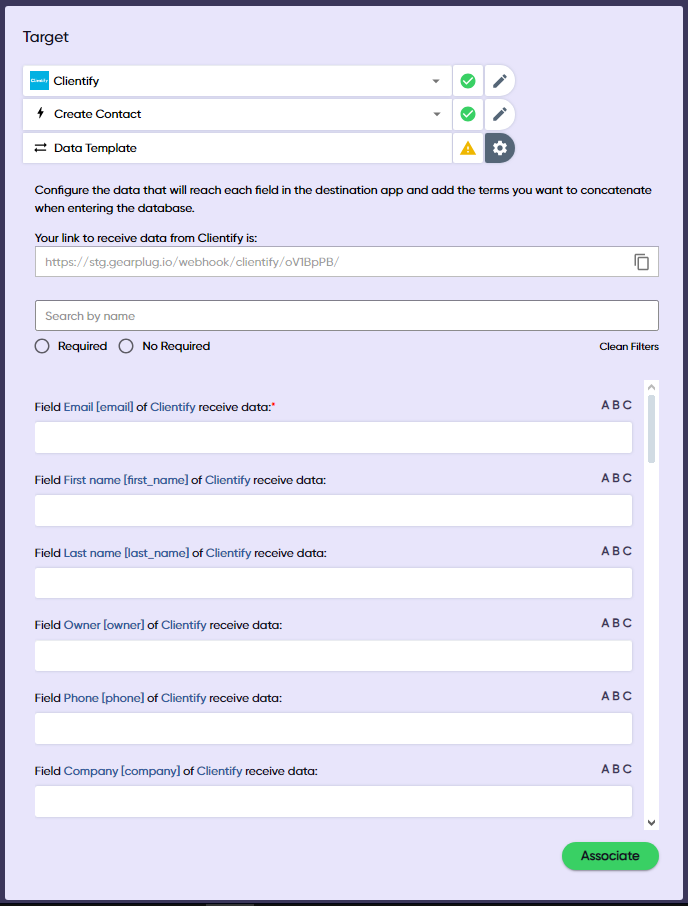
3. **Fill in the data template**, linking source and target fields. You must fill in the required fields, but you may skip the optional ones. Click “Map” when you’re done.
{% hint style="info" %}
If you don’t want to go through each field, you may use the search bar at the top. You can also filter required and optional fields.
{% endhint %}
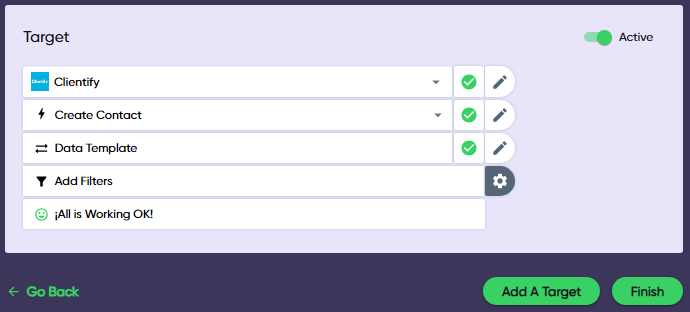
4. **Verify that your target is active** in the upper-right corner. Click “Add a target” or “Save” to add more apps or save your Gear.
{% hint style="warning" %}
Make sure you turn on your Gear on the “Gears” menu before leaving GearPlug!
{% endhint %}